Thursday, January 12, 2023

Kodak Duaflex II with Rerolled 620 Film


I recently shot 2 rolls of 120 film I re-rolled onto 620 reels in my Kodak Duaflex II. The Duaflex II is a compact TLR (Twin Lens Reflex) with basic features. The one I have is in pretty good shape for it's age. The Duaflex takes 620 sized film which is available online from a few sellers (expired or re-rolled). FYI, I tried to "jam" 120 reels in the Duaflex but they don't fit easily. 

The basics on the Duaflex:
  • 72mm f/8 lens
  • Range focusing
  • Aperture set with a slider under the taking lens at: f/8, f/11 & f/16
  • Cash shoot with B mode via a sliding switch under the shutter release
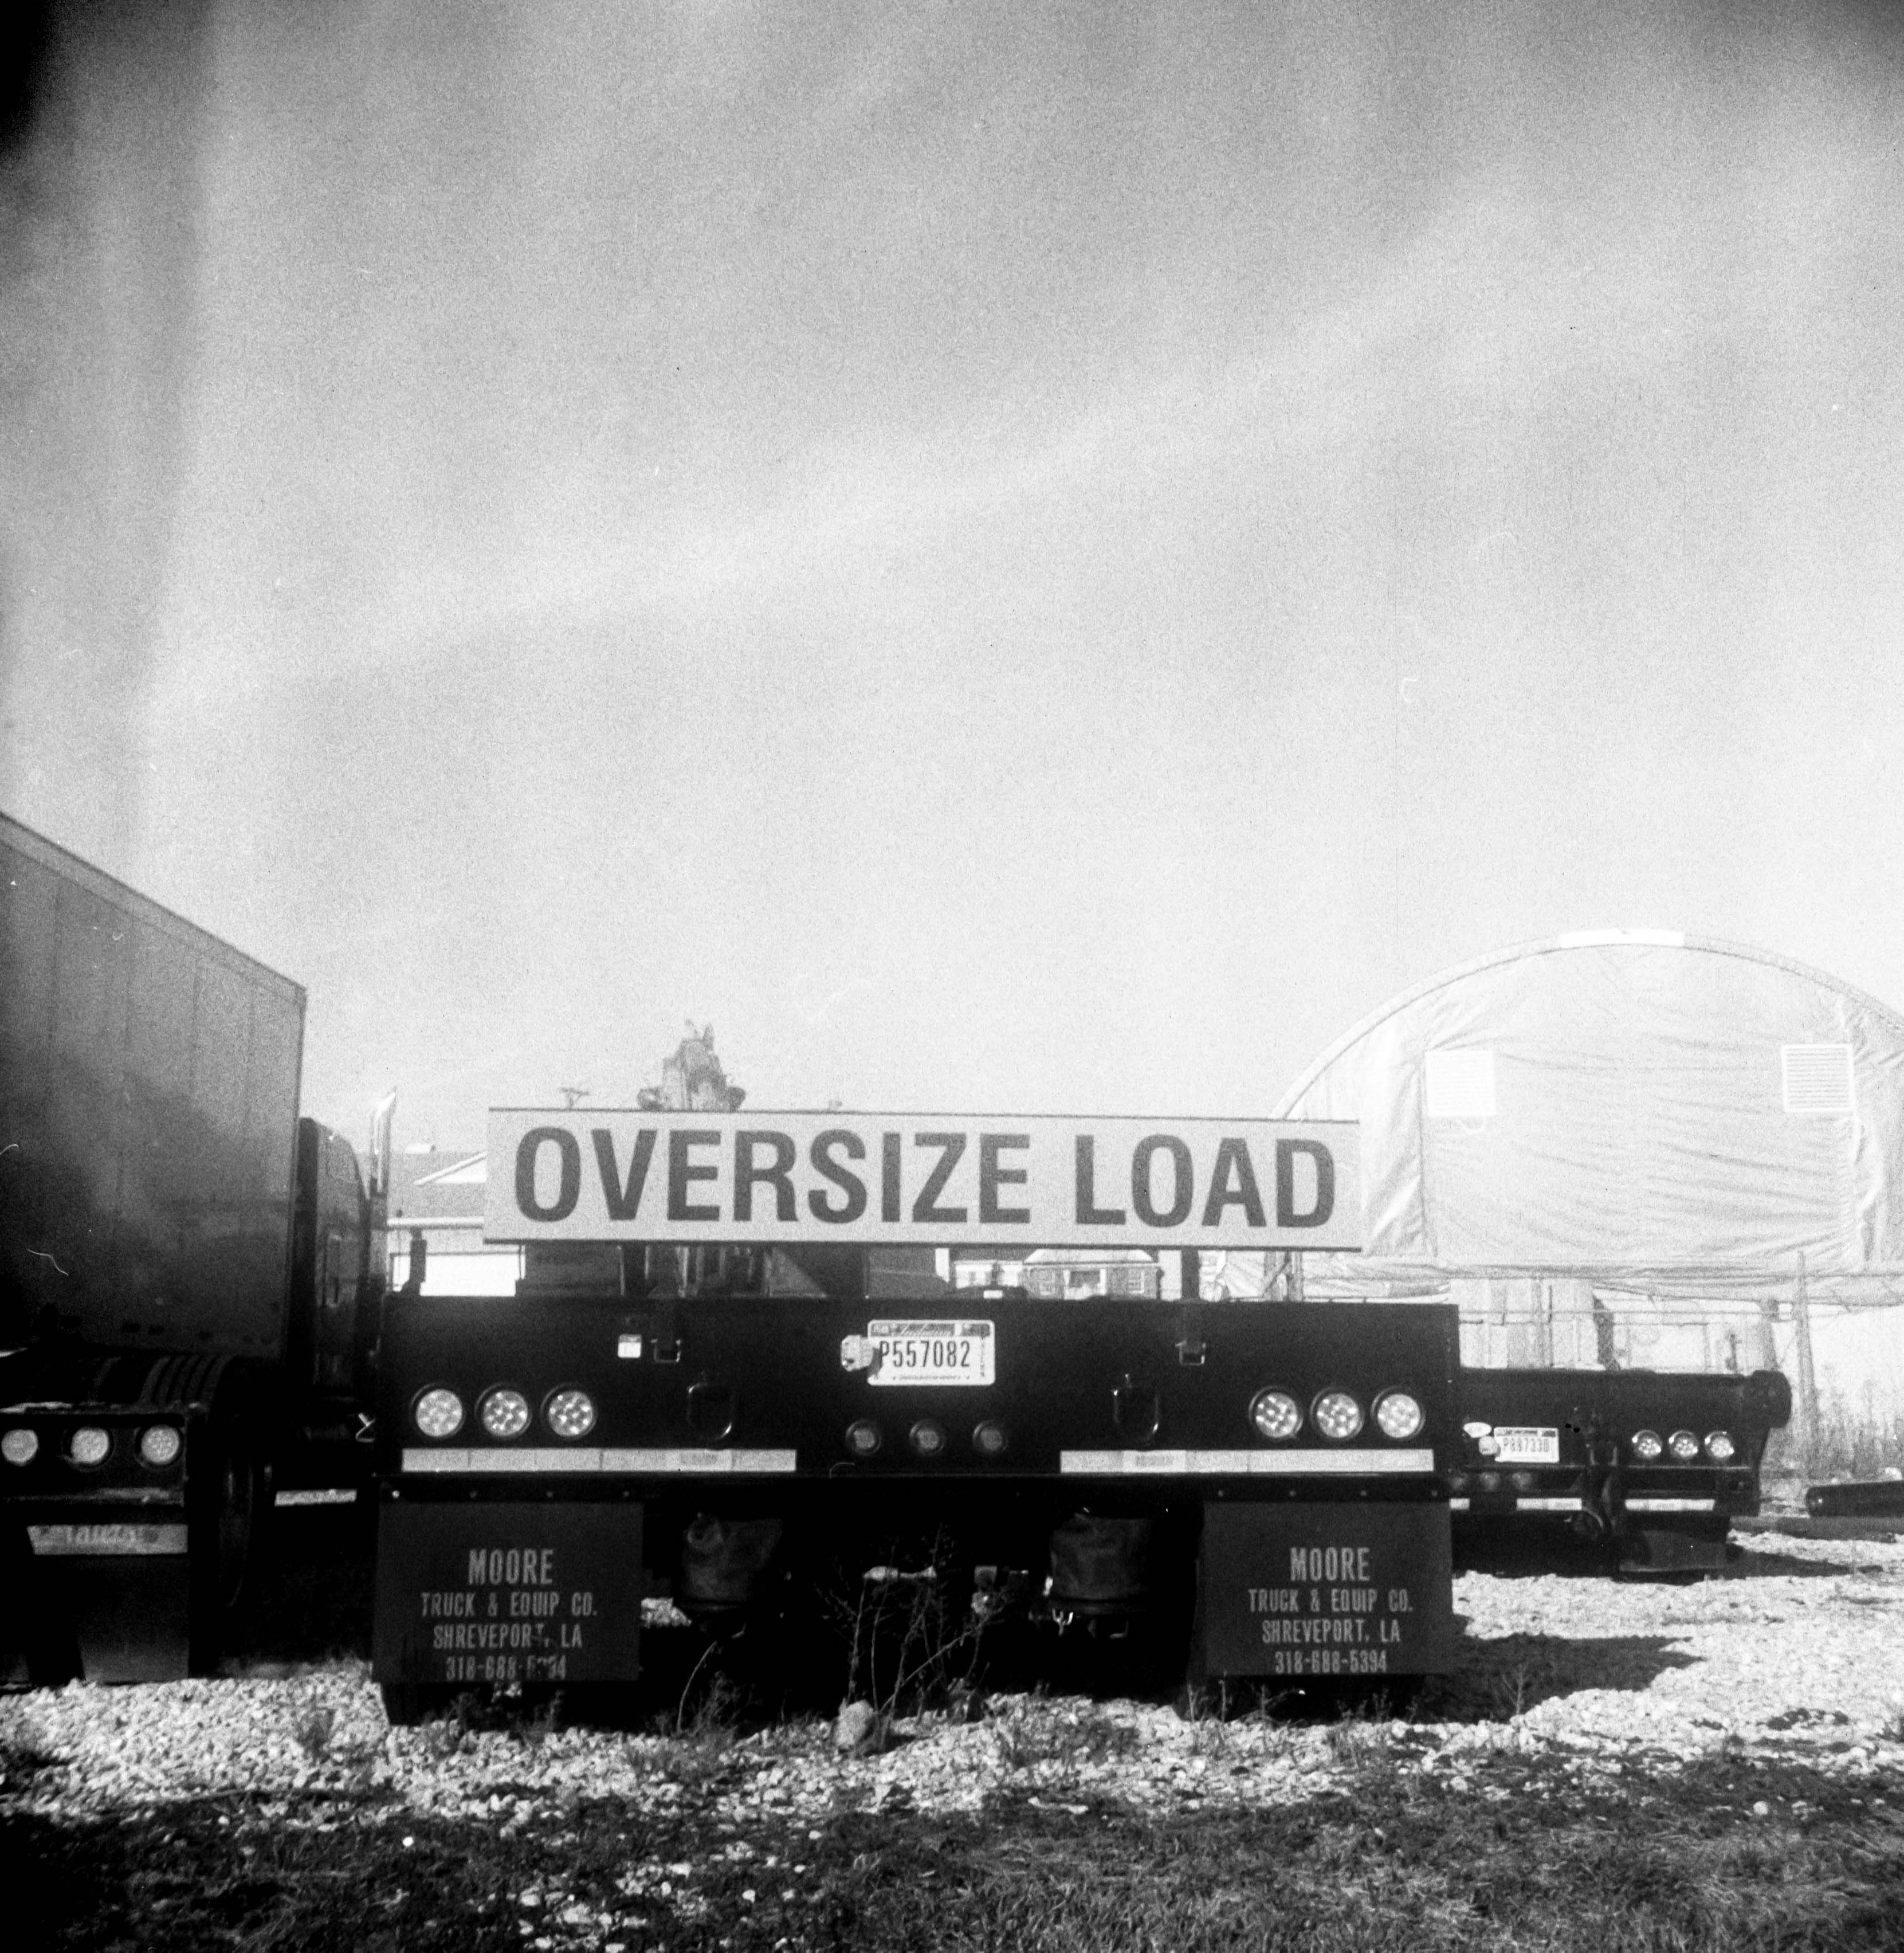
I shot a roll of re-rolled Fomapan 400 & expired Kodak Portra 400UC. The Fomapan images came out a bit "gritty" & white marks that appears to be light leaks. I think this was because there was a lot of black flakes on the inside of the lens that I didn't originally notice (since cleaned) and I think I creased the film when I was re-rolling it causing what appears to be light leaks. The Portra came out without these effects.

Here are images:


Friday, December 30, 2022

Film Manufactures


Sometimes a 35mm film you use isn't exactly what you think it is. There is an active business within film photography of repackaged, rebranded or white label film. The film may be branded with a cool or interesting name ... you think it's a unique or new film stock ... however it's actually an established or bulk order film that's simply been repackaged and rebranded. Several films stocks are widely used for this purpose like Fomapan, Vision3 and Kentmere. 

IMHO this is NOT a bad thing. It actually makes 35mm film more readily available. Pricing is sometimes better than competitive films.  Also rebranded film often have interesting names, cool marketing, fun packaging, etc. All of this adds vibrance to the industry. Or, you may want film options vs the typical Kodak, Fujifilm or Ilford. Repackaged films often gives you access to films not available like expired, oddball or large bulk amounts into 35mm sizes. I shoot repackaged film regularly.

HOWEVER, I also like to know what I'm shooting. This allows me to be a better consumer and spend my film budget wisely. Also it helps me know the characteristics of a rebranded film, especially if I've shot the underlying stock previously.

So, I keep a list of films the market has indicated is rebranded or repackaged. This list should NOT be considered all inclusive and unless the seller has specifically indicated the film manufacturer please use caveat emptor with this list. Also this list ONLY includes films that are repackaged or rebranded. It DOES NOT include films sold by the manufacturer (like Film Ferrania P80, Kodak Portra 400, etc.) or film stock  reformulated but not produced by the seller (like JCH Streetpan 400).

Here's the list and confidence factor since most film sellers don't indicate what the underlying film stock is:

Confident:

  • AgfaPhoto APX 100 = Kentmere 100
  • AgfaPhoto APX 400 = Kentmere 400
  • Arista EDU = Fomapan 400
  • Catlabs 320 = Aviphot Pan 200
  • CineStill BWXX = Kodak 5222 Double-X
  • CineStill 50D = Kodak Vision3 50D (with the remjet layer removed)
  • CineStill 800T = Kodak 5219 Vision3 500T (with the remjet layer removed)
  • Holga 400 = Fomapan 400
  • Kosmo Foto Mono = Fomapan 400
  • Lomography Earl Grey = Fomapan 100
  • Lomography Grey Lady = Fomapan 400
  • Lomography Potsdam = ORWO 54
  • Lomography Berlin 400 = ORWO 74
  • Rollei Superpan 200 = Aviphot Pan 200
  • Shanghai GP3 = ORWO UN54
Low Confidence, New to List or Being Researched:
  • CatLabs X Film80 = ORWO UN54
  • CineStill 400D = Kodak Vision3 250D (remjet not added by Kodak or removed by CineStill)
  • Dubblefilm Stereo = Fujicolor C200 (Dubblefilm is a pre-exposed film stock)
  • FPP Frankenstein 200 = Fomapan 200
  • FPP Mummy 400 = Fomapan 400
  • Kosmo Foto Agent Shadow = Kentmere 400
  • Rollei RPX100 = Kentmere 100
  • Rollei RPX400 = Kentmere 400

I regularly update the list so stop back if interested, or if you have information to add or include please let me know.


Tuesday, December 27, 2022

Kodak Vision3 Motion Picture Film

Vision3 250D in Cincinnati

I've been testing Kodak Vision3 motion picture films. Both 250D (5207) & 500T (5219). The following is what I've learned so far about using Vision3 film in a 35mm film camera. Remember this word. REMJET.

Color film is often out of stock in-store & prices have been going up. Kodak Vision3 movie film is being discussed & marketed as an alternative to traditional 35mm color film. Several online stores / distributors sell repackaged 24 or 36 exposures or 100' bulk rolls. You can almost always tell it's Kodak Vision3 if it has been renamed with anything like 250D, Cine stock, 500T etc. in its name. The cartridges will also indicate it should be developed with ECN-2 chemistry.

ECN-2 Chemistry

If you want to buy Vision3 film it's increasingly available but not always "inexpensive" because the repackager must purchase in bulk rolls (usually 400'), re-roll the film in 35mm cartridges and label the cartridge / box. This is not without cost. There is one KEY factor about Vision3 film that MUST be taken into consideration. That is REMJET. Unless you purchase reprocessed Vision3 film from CineStill ALL repackaged Vision3 film on the market has a remjet layer unless it specifically says it's removed. 

Remjet is a black, lubricant layer on the BACK (non-emulsion) side of the film. Remjet DOES NOT affect the exposure process.

Black remjet side of test strips

However, remjet is opaque and MUST be removed before the negative can be scanned. You will notice in the photo above that the remjet is black. Even after developing the negative the remjet layer remains (unless you used a pre-bath remover). It's easy to take off BUT it can be a sticky black mess.

That's why you NEVER have a photo developing lab develop film with a remjet layer unless they specifically say they are able to develop it. It will mess up their equipment, so best to double check.

Here are a few tips / experiences / info if planning to use Vision3 film. 
  • All Vision3 film HAS a remjet layer unless it specifically says it's removed.
  • Unless the photo lab is able to develop Vision3 film (or any film with remjet) you will need to develop and scan the film yourself. Home developing 35mm film is easy.
  • Remjet is removed as the 1st (pre-bath solution) or last step (manual water wash).
  • It's PREFERRED that Vision3 film is developed with ECN-2 chemistry but can be developed using C-41 chemistry with similar results.
  • Color tones for Vision3 films are best rendered with ECN-2 & SOME ECN-2 kits include the bonus of having a. pre-bath solution included.
  • You DO NOT need to remove the remjet before exposing or developing the film.
  • If you use C-41 chemistry or ECN-2 without a pre-bath you remove the remjet layer "manually" AFTER developing the film during the final wash step.
  • Even if you use ECN-2 with a remjet pre-bath it's recommended to manually give the film a wipe down after washing. My experience is even with a pre-bath not all the remjet is removed so you need to manually wipe down the film after washing 
  • If you use C-41 or ECN-2 your developer will get "black" flakes (remjet) in it. These flakes DO NOT affect the developer quality. If you don't like them you can filter your developer with a coffee filter.
  • REMOVING THE REMJET - After developing and fixing the film you will wash your Vision3 film as recommended (usually 3 minutes under water). I then take the film off the reel and submerge it in a warm water (102 degrees F) bath with a small amount (1/2 tablespoon) of baking soda. Use enough water to cover the film completely. Baking soda or washing soda is not required but helps. Let the film sit for about 30 seconds and then the remjet will easily wipe off. I use a clean microfiber cloth or my thumb (use latex or equivalent gloves). Be careful not to rub the emulsion side of the film if possible as it can be scratched. Check the negatives after you remove the remjet to make sure you have it all off. Hang to dry. Even the smallest amount of remjet will not removed will show on your scan.
  • Clean up. With normal film I just rinse the equipment. However, with remjet you should thoroughly clean your equipment. Remjet can and will get everywhere and it's sticky. Your reels will get black / clogged. Deal with it immediately.
  • Pay attention to the type of Vision3 film you purchase. There are 2 types: D (Daylight) and T (tungsten) color balanced. ISO are available from 50 - 500. You can daylight balance your T film with an 85 filter but you need to set your ISO to 320.  Personally, I like how tungsten balanced film looks in daylight without a filter.
  • My experience is that you can push and pull Vision3 film but I would recommend no more than 1 stop either direction. 
Bottomline, Vision3 motion picture film is a viable, easy to use color film. If you home develop there is only 1 additional step. There you go! ENJOY

Vision3 250D

Vision3 250D

Vision3 250D

Vision3 500T

Vision3 500T

Vision3 500T


Wednesday, November 10, 2021

DIY Redscale Film - Kodak Portra 800


I recently purchased a 2 rolls of CineStill Redrum 120 film. Redrum is a limited run 120 film re-rolled 800T by CineStill. Redrum is a redscale film. 


Here's an example of a photo from the CineStill Redrum shot in a Mamiya 6 & developed with CineStill C-41 chemistry.


My results had a yellowish red tint. The amount of red can be impacted by the light conditions and the ISO used. The box speed of Redrum is 200, but next time I might shoot it at 50-100 ISO.

Well, I decided to DIY some redscale 120 film. Since CineStill Redrum is 800T I decided to use some expired Kodak Portra 800. 


From some basic research on redscale film I read the film is shot through the back of the film and at 200 or lower ISO.

The process I used was simply (in complete darkness):

  1. Unrolled the Kodak 800 keeping the film / backing paper on the reels,
  2. Taped the backing paper (film up) to a table,
  3. Removed the taped end of the 120 film from the backing paper,
  4. Flipped the film over and re-taped the film (I precut a pc of painter's tape the length of the film width) in the exact spot it was originally taped,
  5. Rerolled the film onto the spool. 
  6. Taped the film roll to securely close it.
Not surprisingly, the trickiest part was re-rolling the film. The film has a natural curl from the original rolling and while rolling it up I had to overcome the natural curl. Also, you need to keep the film tight to the backing paper as you re-roll the film so the film doesn't bunch up. In the dark I had to roll, unroll and re-roll it several times to get it tightly rolled.


Here are a few images shot in my Mamiya 6 on a fairly bright fall day. The film was shot at 200 ISO and developed with CineStill C-41. I increased the contrast & black point of the histogram slightly in Adobe Creative Cloud Lightroom Classic.


A few things I noticed and this might be due of the age of the film. First there is considerable grain in the DIY version and a slight wave pattern in the lighter areas (noticeable in the sky of the 2nd image).

This was a fun experiment that worked better than originally envisioned. However, because redscale is such a novelty effect I doubt I'd do it more than occasionally. Therefore, it probably makes more sense to simply buy Redrum when it's available and use the real stuff even if it costs more than rerolling your own!

But if you want to DIY redscale this process works. 

Sunday, July 25, 2021

Kodak Tourist (6x9 folder)


I recently shot a roll of Ilford Delta 400 through this Kodak Tourist. The camera takes 620 sized film, so I rerolled a reel of 120 onto a 620 core in a black bag. This is a 6x9 negative format folding camera with bellows. The camera is completely manual. There are a couple of versions, but the one I have has the T, B, I speed setting (unless you are shooting bulb it's really only 1 speed. The aperture range is an f/2.5 to 32. Pretty impressive for such an old camera.  

The nice thing about the camera is that you can easily hold / shoot it in both landscape and portrait format. When not in use it folds up into a very compact sized.


You get 8 shots out of a roll of film. I home developed the roll of Delta 400 with Ilford Ilfotec DD-X (my go-to B&W developer) at 1+4 for 8 minutes and scanned the negatives with my Epson V800. Here are a few images. 


Friday, May 21, 2021

Holga 120N & Ilford Delta 400


I took my Holga 120N out again the other day. I really like the 6x6 negative ratio size. The quality is surprisingly good for a plastic "toy" camera. This time I shot at Ft Harrison State Park and Eagle Creek Park in central Indiana on a cloudy / overcast day. I used Ilford Delta 400 in 120 size and developed it with Ilford Ilfotec DD-X 1+9 ratio for 9.5 minutes. The negatives were scanned with an Epson V800 Photo Scanner.

The results


Sunday, February 7, 2021

Yashica MAT-124G with Wolfman


The Yashica Mat-124G is my favorite TLR medium format cameras. It's super simple to use, I love the 6x6 ratio (square) & it has a working but simple light meter. It's build sturdy.

I took the Yashica out for the first time in quite a while. Covid-19 significantly dampened my film and street photography in 2020. However, I decided to start shooting film regularly starting this January. I have plenty of 120 film on hand both fresh and expired, but wanted to try a roll of Wolfman 120 purchased during a recent trip to Roberts Camera in downtown Indianapolis. The film is distributed by the Film Photography Project store. The film is rated ASA 100 so I needed a fairly bright day. Also, the battery for the light meter needed to be replaced. The camera takes a specialty-type battery (PX625). A downside is that this battery is air activated lasting only a few months. Literally, every time I take this camera out a new battery is needed. The upside is you don't need the battery for the camera to work ... only the meter. You can always use an external light meter, use Sunny 16 or just guess at the exposure.

I shot the roll on the near south side of Indianapolis on a bright but very overcast day. The camera only shoots 12 shots in 6x6 so it goes fast. I did also shoot a roll of Ilford Delta 100 while I was out.

I didn't have any of the developing chemicals recommended by the FPP for the Wolfman film so I learned online that the film could be developed like ORWO UN54. This film can be developed using Ilford Ilfotec DD-X (which I have) in a 1+4 ration for 9 minutes at 20C. That's what I used. I'm happy with the results. 

The film is crisp with lots of contrast with the day's conditions. Some shots