Kodak Vision3 motion picture film is an excellent option for color photography. It’s available in various ISO ratings and color balances, including 50D, 200T, 250D, and 500T. You can find it in 35mm cartridges or bulk rolls (100', 400', and 1000' lengths) from Kodak or resellers—both in physical and online stores.
What You Need to Know About Remjet
One important consideration when working with Vision3 film is the remjet layer. Remjet is an opaque, black carbon-based coating applied to the back of the film.
- Impact on Shooting: The remjet layer does not affect the process of shooting with the film.
- Remjet Removal: However, it must be removed during development (unless you buy pre-removed film).
The main issue with Vision3 film is that most commercial labs cannot develop it due to their inability to remove the remjet layer. So, you have two options:
- Home-develop the film (a relatively simple process).
- Use a specialized lab capable of processing Vision3 film.
Removing the Remjet Layer Before Shooting
An option for those who want to eliminate the remjet before shooting is to remove it ahead of time. While this step is optional, it can streamline the development process later on.
I’ve developed a workflow to remove the remjet using a Paterson daylight developing tank and a 3D-printed, light-tight film dryer. The process isn’t difficult, but it requires complete darkness for several steps.
Here’s a high-level breakdown of the workflow for removing the remjet layer before shooting:
- Load the film onto a Paterson System reel (or another compatible reel system).
- Remove the remjet layer using a prebath solution (e.g., Kodak DIY or Flic Film remjet removal).
- Transfer the film into a 3D-printed film dryer for drying.
- Dry the film for 3-4 hours with a fan to ensure it's thoroughly dried.
- Reload the film into reusable 35mm cartridges.
Steps 1, 3, and 5 require a black film-changing bag or a darkroom to ensure complete darkness.
Equipment You’ll Need
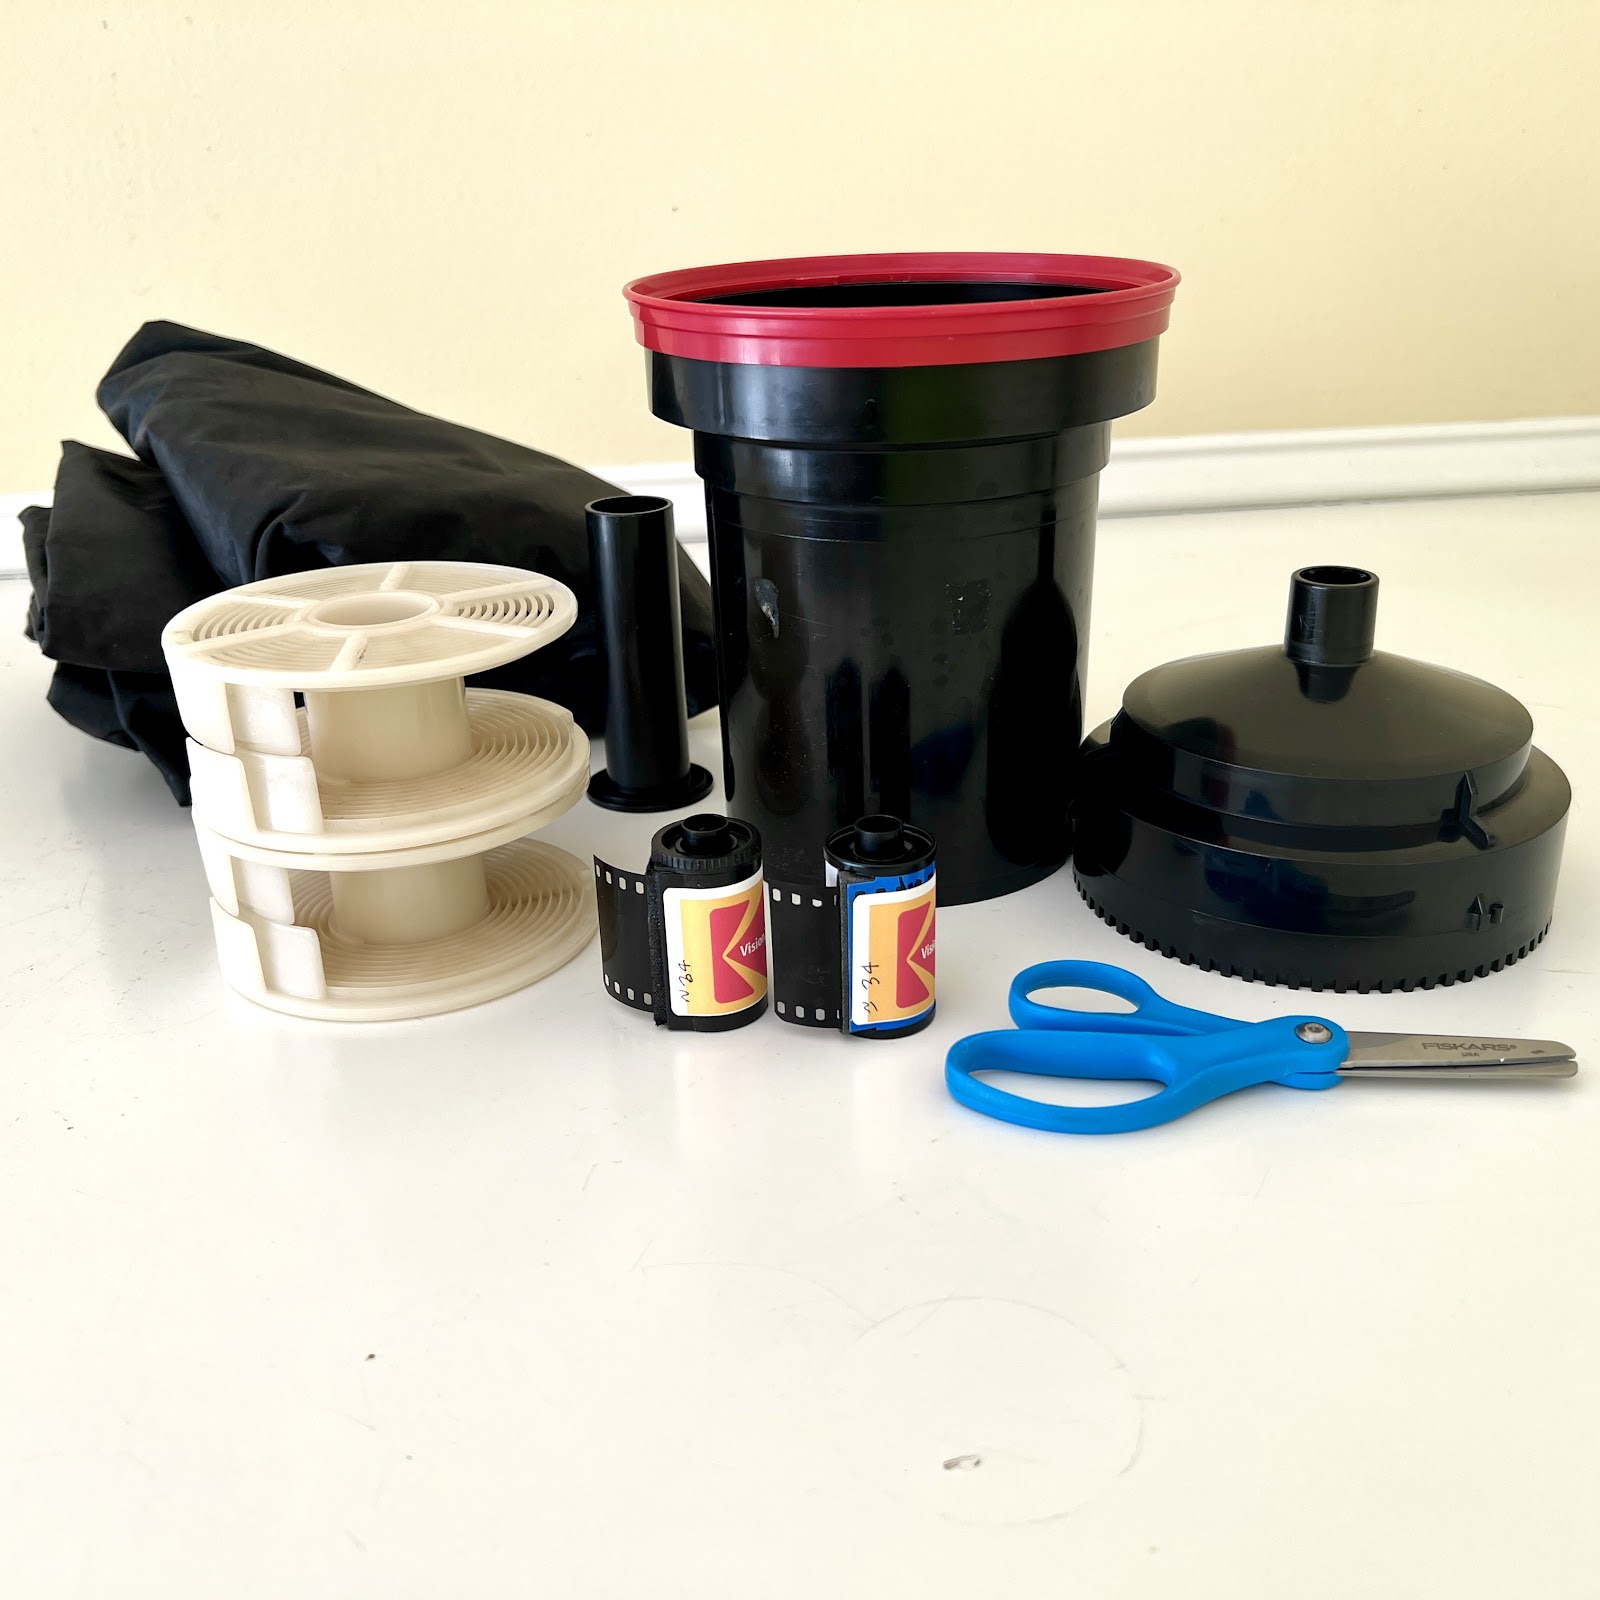
Here’s a list of the necessary equipment for this workflow:
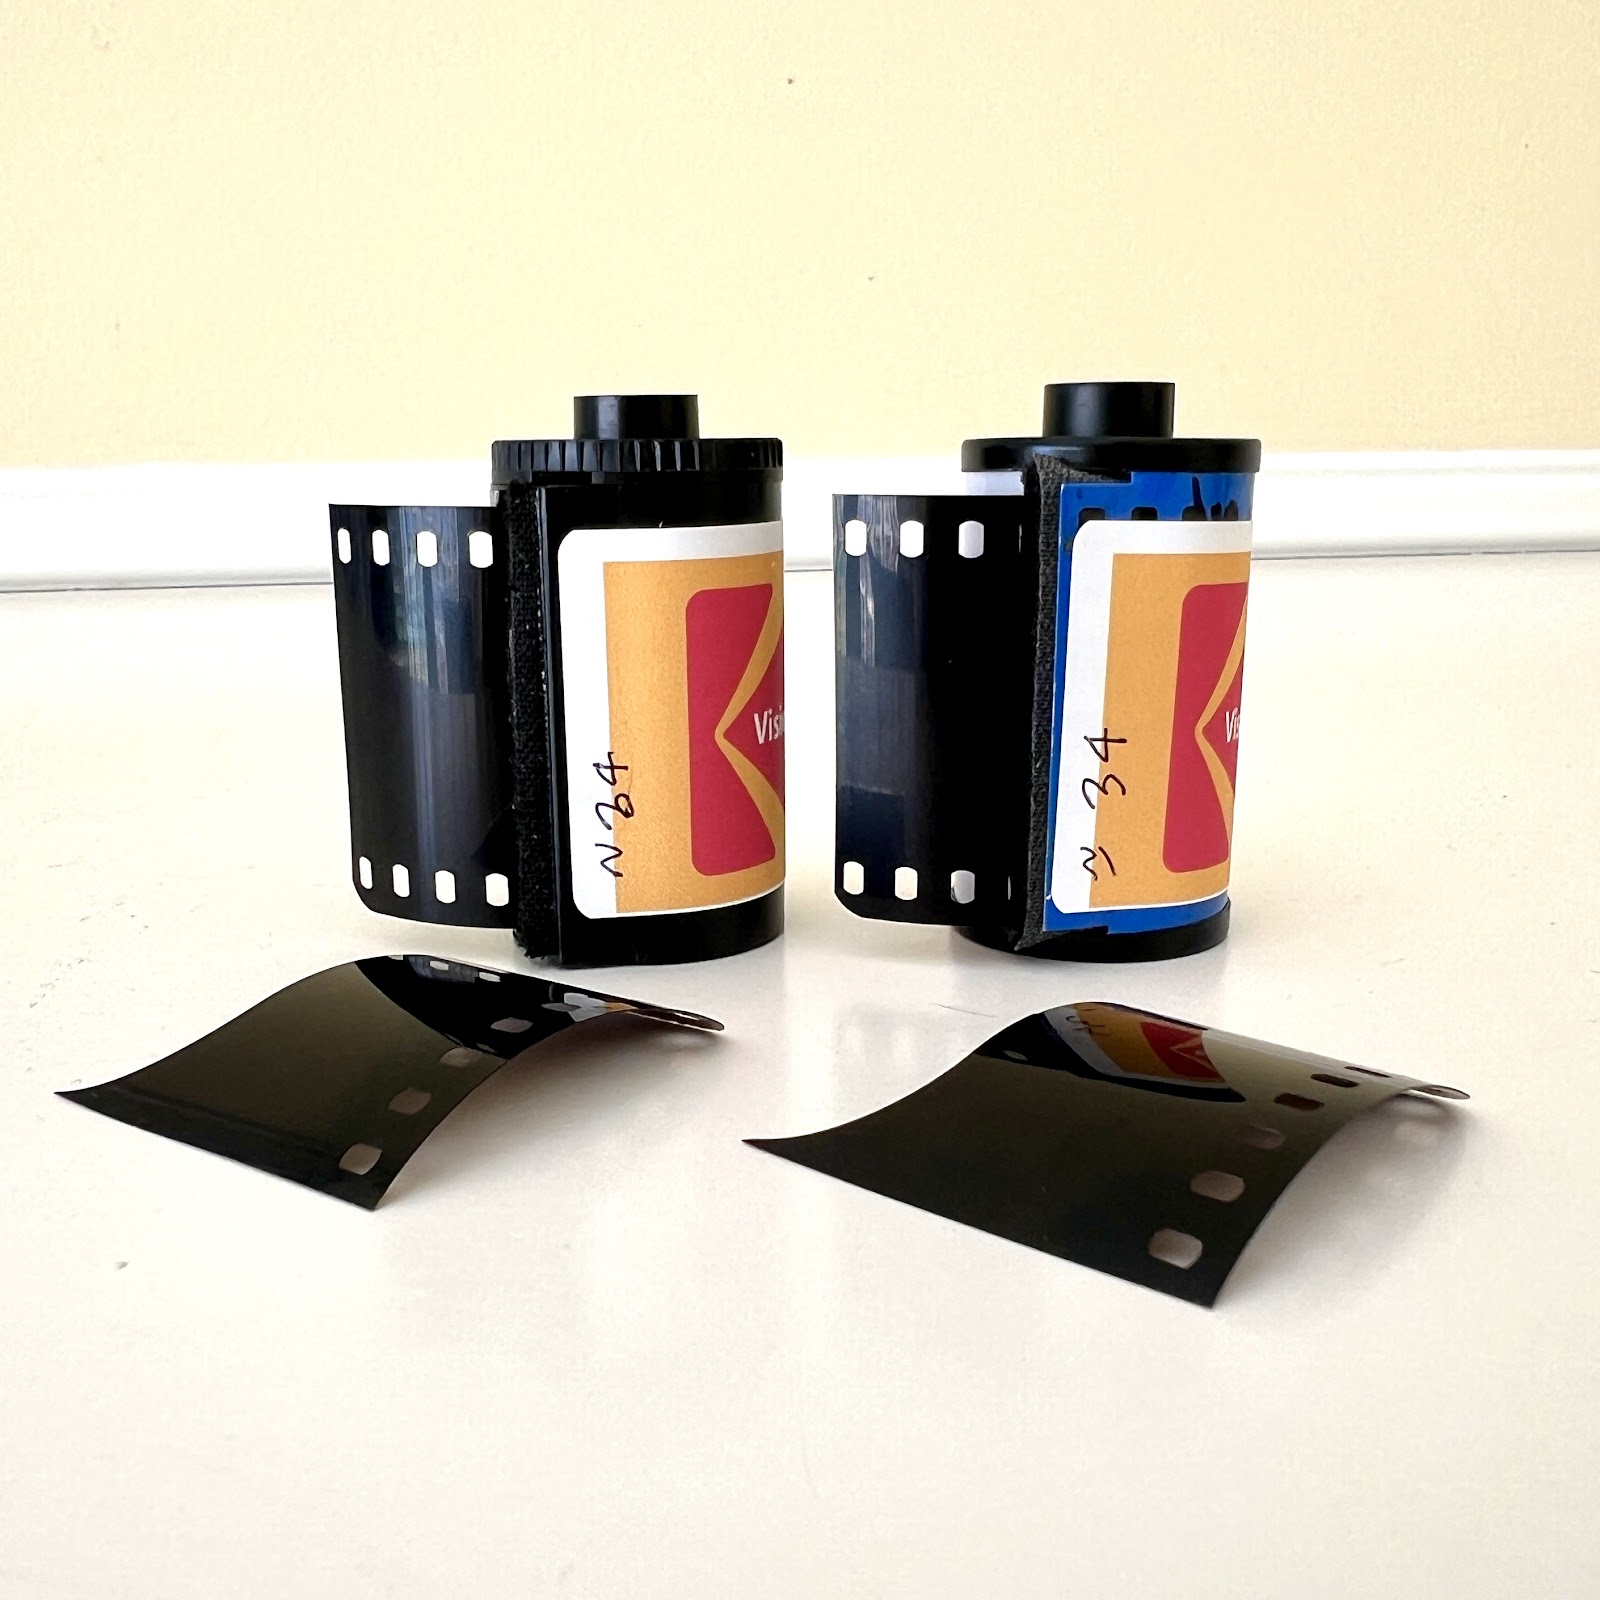
- Vision3 film (any type)
- Daylight developing tank (I prefer the Paterson System), including reels, changing bag, scissors & tape
- Remjet removal prebath (Kodak, Flic Film, or a DIY solution)
- 3D-printed film drying tank
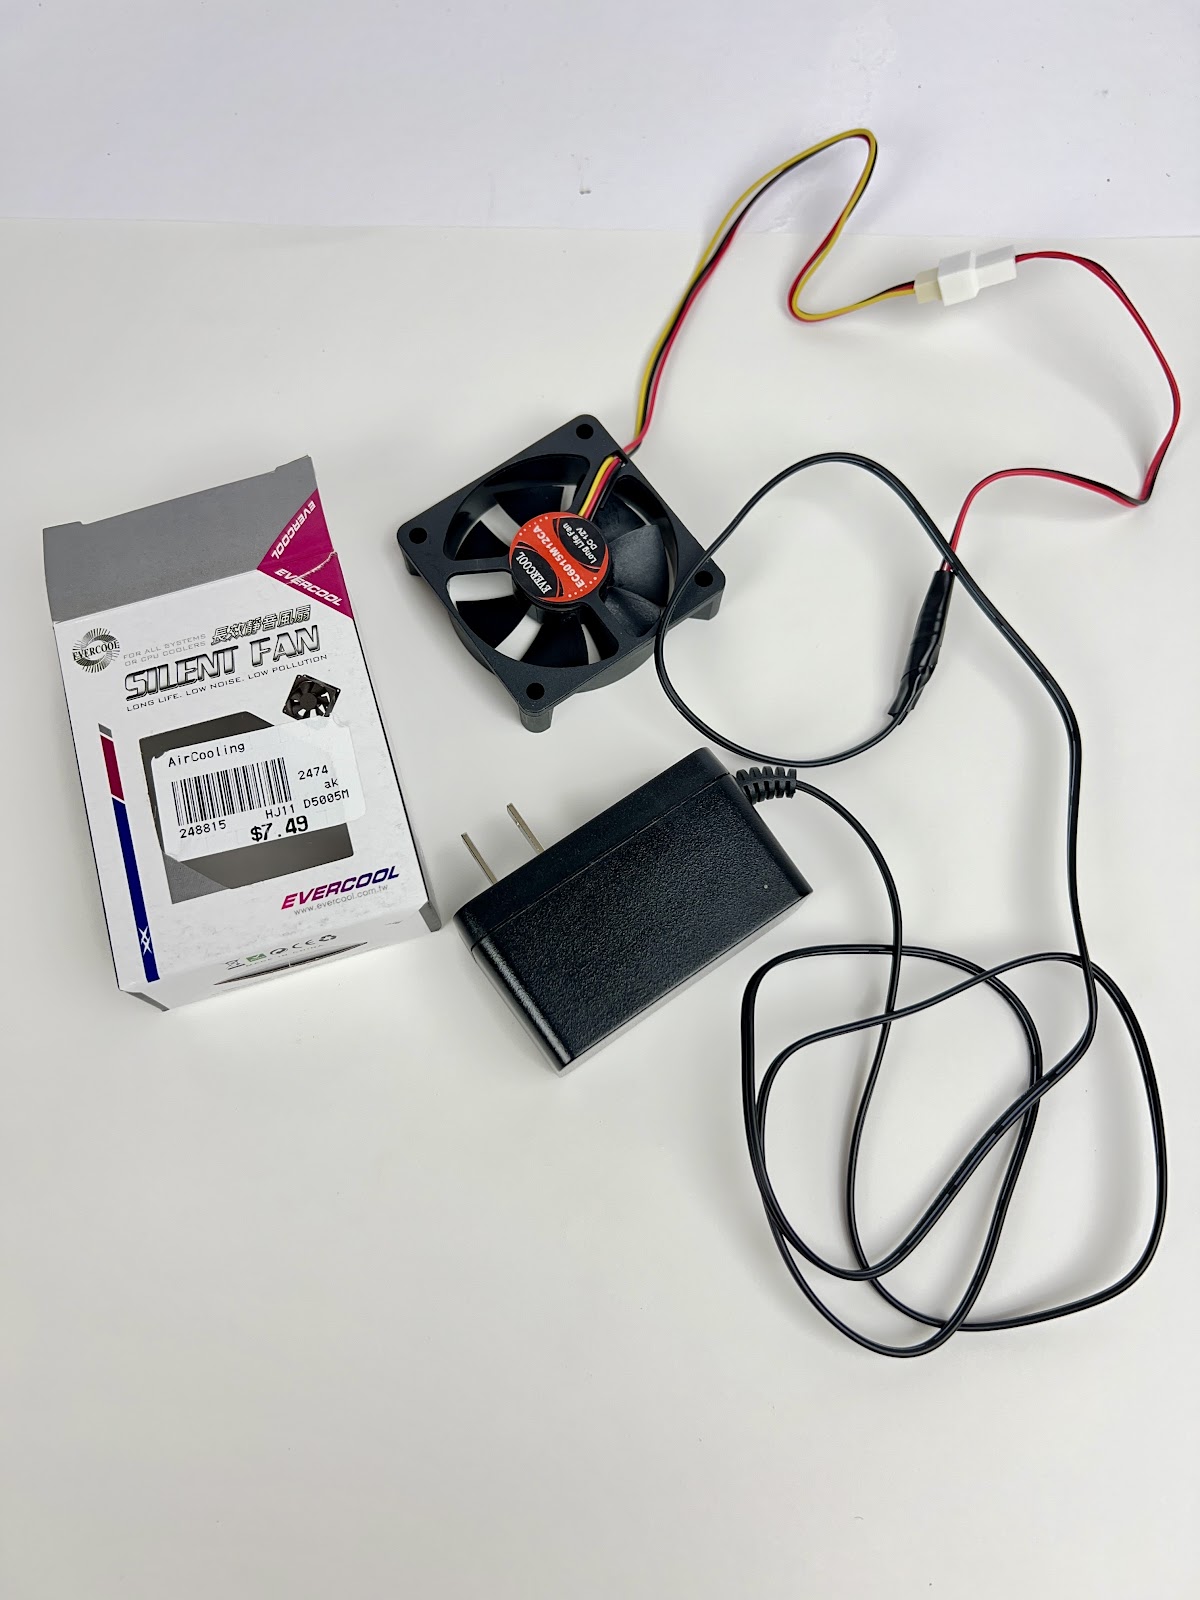
- 60x60mm computer fan with a 12V charger (I found mine at Micro Center)
- 35mm cartridges for reloading the film
You can find the 3D-printed drying tank here.
Here's a video assembling the film dryer:
The assembled film dryer:
And for the remjet removal prebath I use, check out this link to my guide. The guide includes the formulary for the prebath and the process.
Here's a video of the remjet removal step:
The Step-by-Step Process
If you want to remove the remjet layer before shooting, follow these steps:
- Prepare the Film: Cut off the leader from the roll(s) of Vision3 film, leaving a straight edge
- Unload the Film: In complete darkness (using a changing bag), remove the film from its cartridge. Leave about ½” of film on the cartridge.
- Load the Film: Load the film onto the developing reels and place the reels in the daylight developing tank. Secure the tank with its lid and set aside the cartridges for reloading.
- Remove the Remjet: Use your chosen prebath solution to remove the remjet layer from the film.
- Transfer to Drying Tank: In the changing bag, transfer the reels from the developing tank to the 3D-printed film drying tank.
- Dry the Film: With the fan running, dry the film for about 3-4 hours until it’s fully dry.
- Reload the Film: In the changing bag, reattach the film to the original 35mm cartridges (or bulk loading cartridges). Tape the leader end of the film to the cartridge, ensuring the emulsion side is positioned correctly.
- Final Touch: Once you’ve reloaded the film into the cartridges, remove everything from the changing bag. You’re done!
Important Notes
- Remjet Prebath Options: There are various prebath formulas available to remove the remjet layer, but I’ve found the one I use to be the most effective.
- Commercial Development: Even if the prebath works well, I would still recommend not sending your film to a standard lab. There’s always a chance small amounts of remjet could remain, potentially affecting the final image quality.
- When to Use This Workflow: This process is only necessary if you want to remove the remjet layer before shooting the film. If you’re okay with the remjet layer staying on the film, it can be easily removed during development.
Enjoy experimenting with Kodak Vision3 film!


