I recently gave a presentation at a local camera club. The club is primarily digital focus, but they asked me to give an update on the film photography genre and why a digital photographer might consider film photography. Here's an overview of the presentation.
Why you should try film again or give it a try?
- New films to try
- Harman Phoenix 200
- CineStill 400D
- CineStill 800T
- Kodak Ektachrome (relaunched)
- Film Ferrania Orto 50
- Wolfen NC500
- Kodak Gold 200 – 120
- Santa Gold
- Polaroid 600 & iType
- Film Photography Project repackaged films
- LuckyPan SHD400
- Various Vision3 repackaged films
- Others
- Trending / hot on social media
- Heavily impacted by young social media influencers
- Uses YouTube, TikTok, BlueSky & Threads
- Not afraid to edit
- OK to fail / just snapshots
- No rules
- Share easily online
- Boutique physical and online stores (just a few) that are active on social media promoting the genre & photographers.
- Film photography compliments your cell phone / digital photography
- Allows you to slow down & get back to basics
- A new source of inspiration and if you are burned out
- New life to old equipment
- Lots of cool cameras at reasonable or low prices
- Question - Are film cameras still available / where can I get one?
- Answer - YES
- Family & friend's stash (cameras they own that are not being used)
- Online & physical stores (both new and used)
- KEH
- eBay (be careful as descriptions are often inaccurate / misleading & prices may not reflect the market)
- New cameras are available (Pentax 17, Rollei 35, Leica M6, disposable point & shoots, etc.)
- Question - Is film still being produced and available?
- Answer - YES
- Color, B&W, instant and slide
- 35mm, 120, Polaroid, Instax, large format & bulk
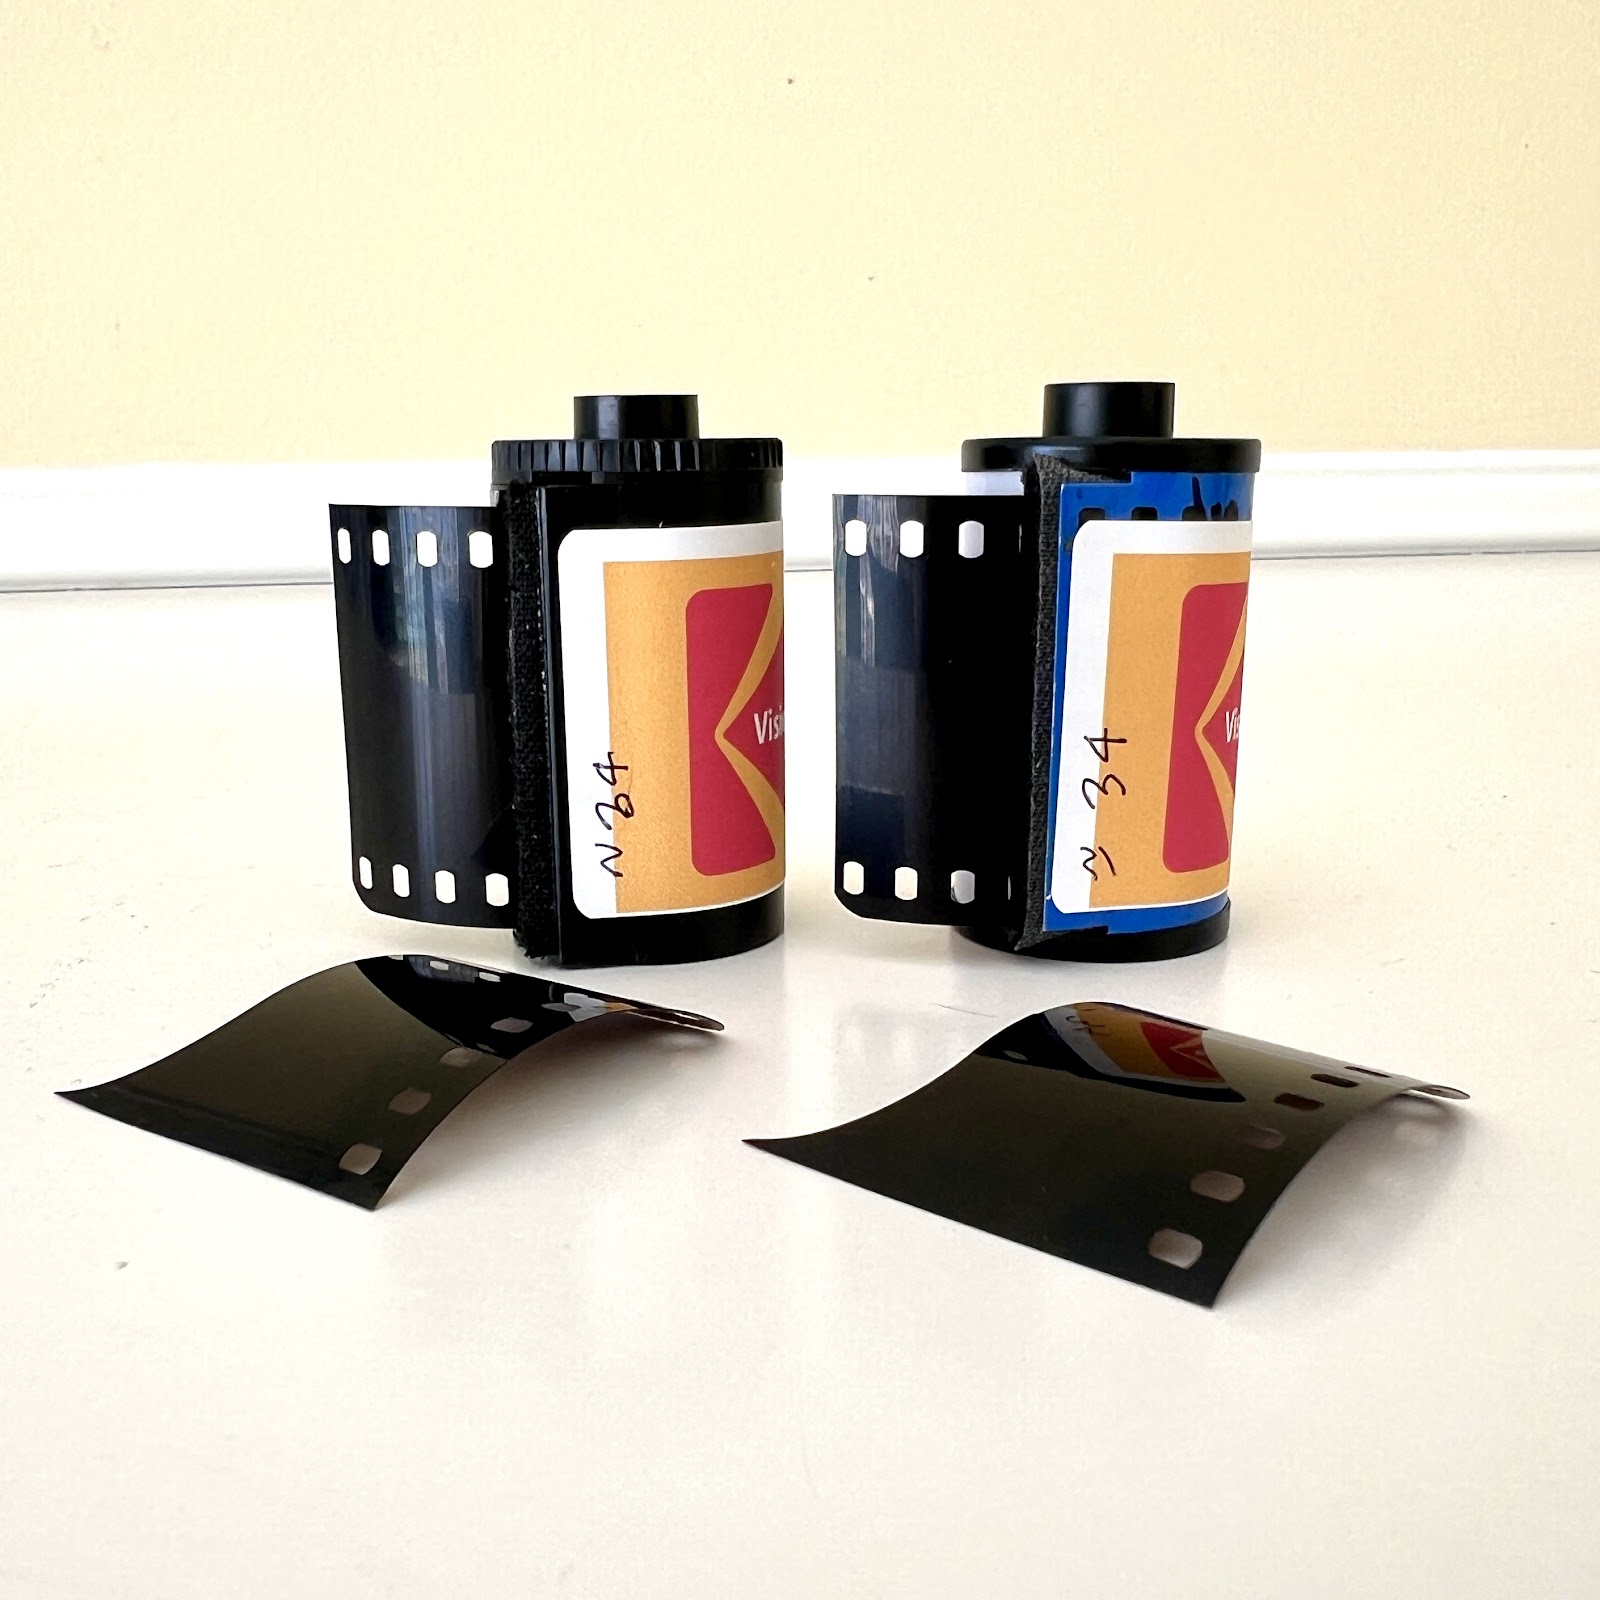
- Vision3 motion picture film in bulk and repackaged
- Question - Where to buy film?
- Answer - Many places
- Mass market stores like Walmart, Meijers, Target, etc.
- Fujifilm & Kodak almost exclusively
- Roberts Camera / Used Photo Pro
- Freestyle Photo
- Ultrafine Warehouse
- B&H Photo
- Adorama
- Question - Can I still get film developed? Where?
- Answer - YES both labs and at home
- Developing chemicals are readily available and affordable
- Its normally cheaper to develop film at home
- Labs (to name a few)
- Roberts Camera
- CVS / Meijers / WalMart
- They send it to a 3rd party lab and it's typically the most expensive option
- The Darkroom
- Boutique Film Lab
- Citizen Photo
- NJ Film Lab
- Dark Slide Film Lab
- Boutique Film Lab
- Art centers / public due it yourself photography labs
- Question - Is film photography expensive?
- Answer - it's all relative but YES, relative to digital (after the camera is purchased) film is more expensive. A roll of film costs $6-25 before tax and developing $10-15 per roll.
- Question - How do I lower the cost of film photography?
- Answer - many options
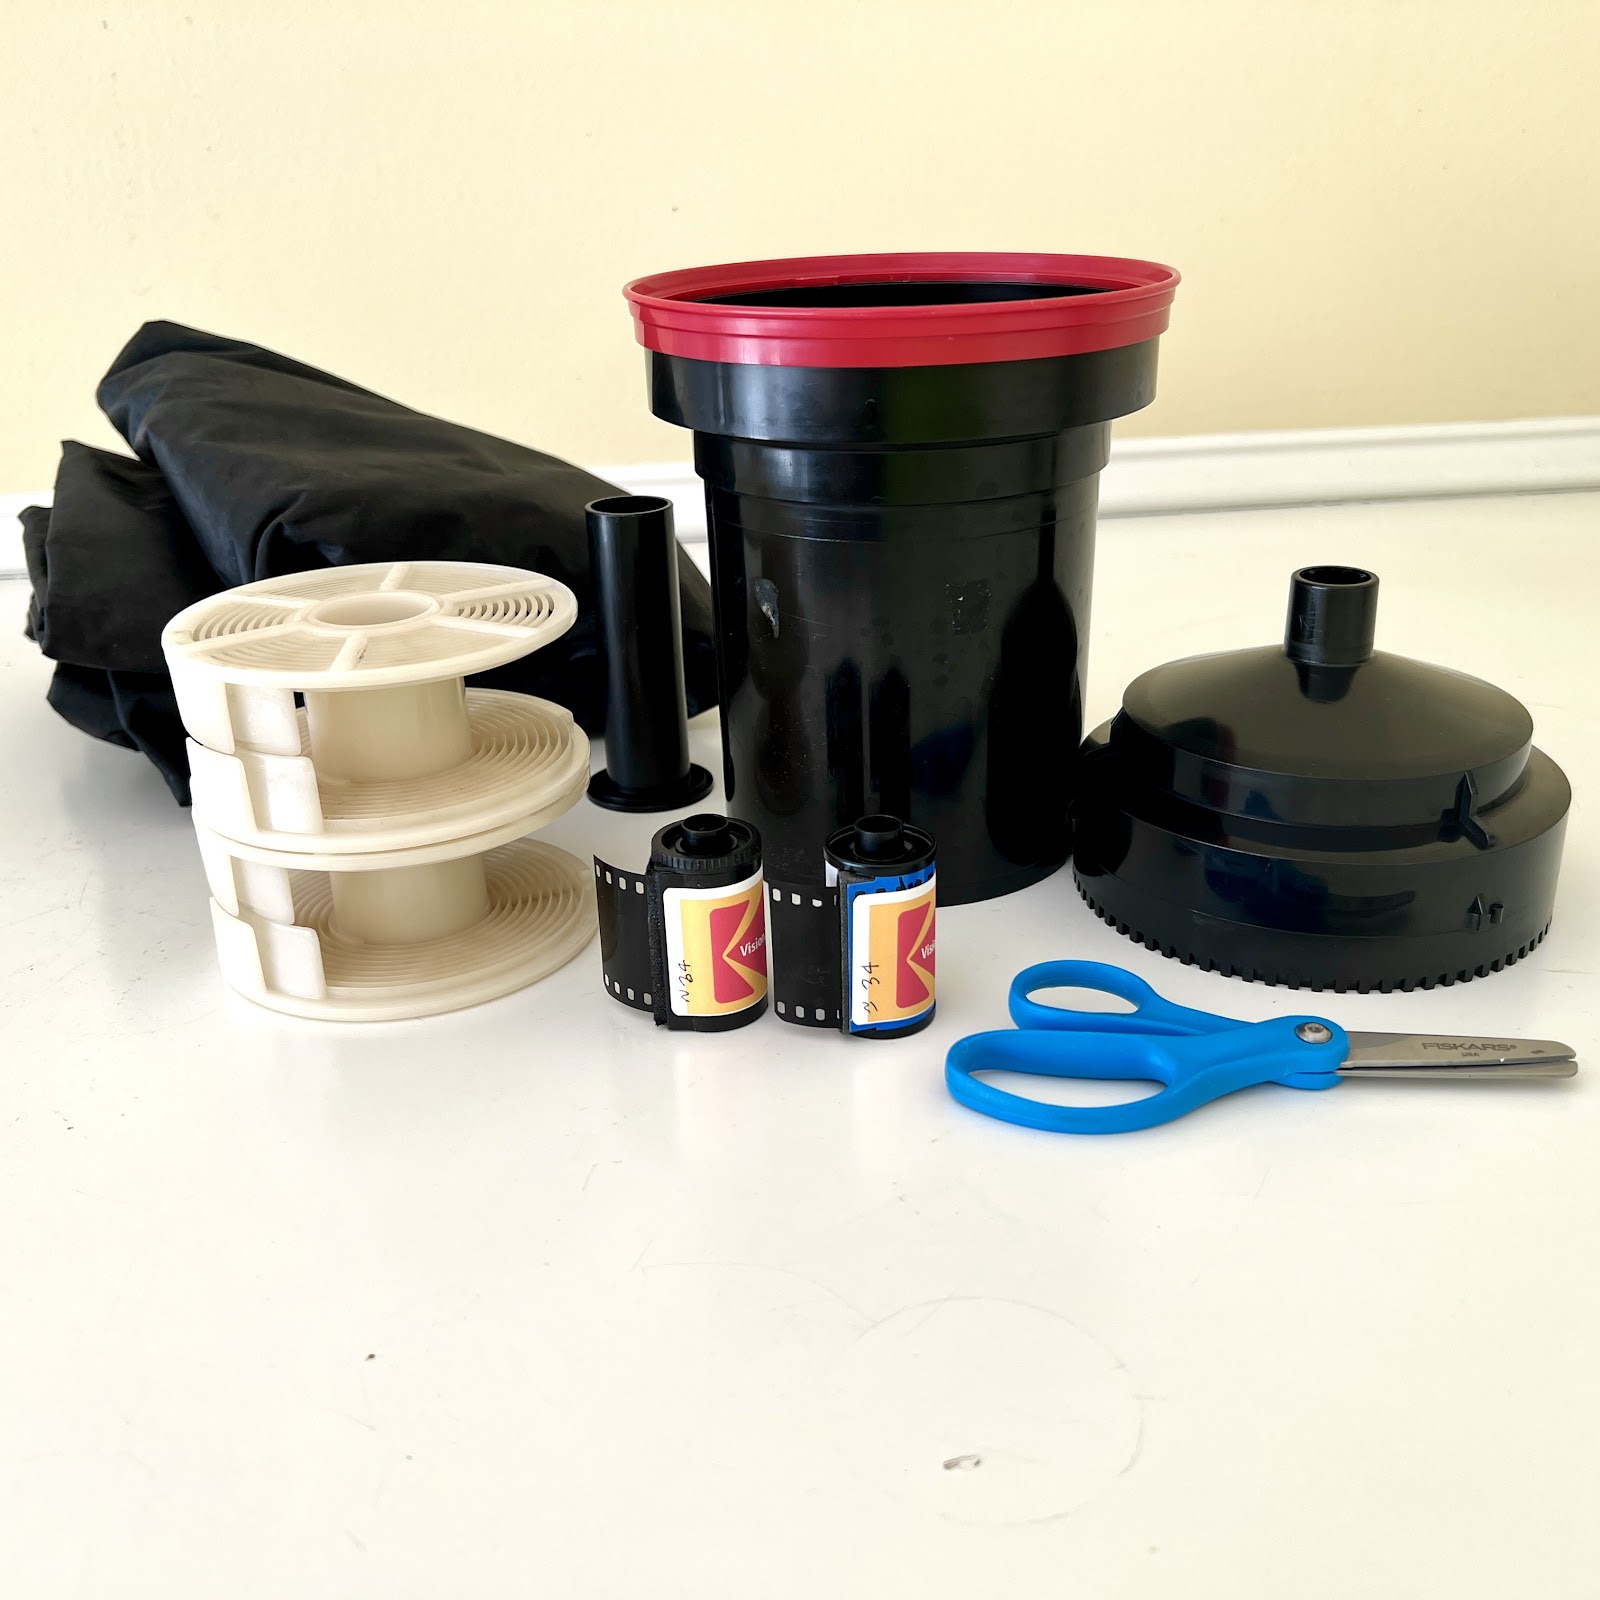
- Home develop your negatives
- Bulk roll film
- Use less expensive cameras - there are MANY options
- Less expensive films
- Arista EDU, Harman, Fomapan, Vision3, Ultrafine, etc.
- Question - Is film or digital better quality?
- Answer - eye of the beholder, but overall digital is better and more flexible
My Workflow
- First, I always carry a CAR camera
- Normally, a point & shoot
- Select a shoot theme, project or location for each non-casual photoshoot
- Primarily street photography
- Recent locations: Indianapolis, Colorado (4 times), Chicago (3 times), Cincinnati, Louisville, Columbus, OH & NYC
- Past projects:
- "Small town Indiana"
- Vision3 remjet removal and testing different types of Vision3 types
- Used Photo Pro camera tests
- Try new films
- Expired film tests
- Select a camera and film
- Do the photoshoot
- Update film / photoshoot worksheet
- Develop & scan
- Post on social media or write blog post
During the meeting which is primarily attended by photographers with previous experience with film photography most have kept one or two of their film cameras. However, only one of about 20 members at the meeting still routinely shots film. I'm not sure if anyone has plans to go out and try film in 2025 but if so they now have information bringing them up to speed.